Rule Your Quilt: Building borders with simple arcs
The simple arc ruler is used to make arch designs that are incredibly flexible while also being simple to stitch. Unlike many other designs, the quilted arch looks very different depending on the height of your border and width of the motif. The humble arch can also be repeated and overlapped to create complex looking border designs that are impressive on everything from very traditional quilts to modern masterpieces. When deciding what to quilt in your next border, grab an arc ruler and make some arches!
To stitch these designs you’ll need your favorite fabric marking device and a ruler that has a gentle arc. Begin by dividing your border into equal spaces. Many times the piecing lines in the body of the quilt will do this hard work for you. But if you are unable to use the piecing seams of the block’s units you will need to divide the space and mark. You will also need a dashed line that de-notes the midline between the main divider lines.
REMEMBER:
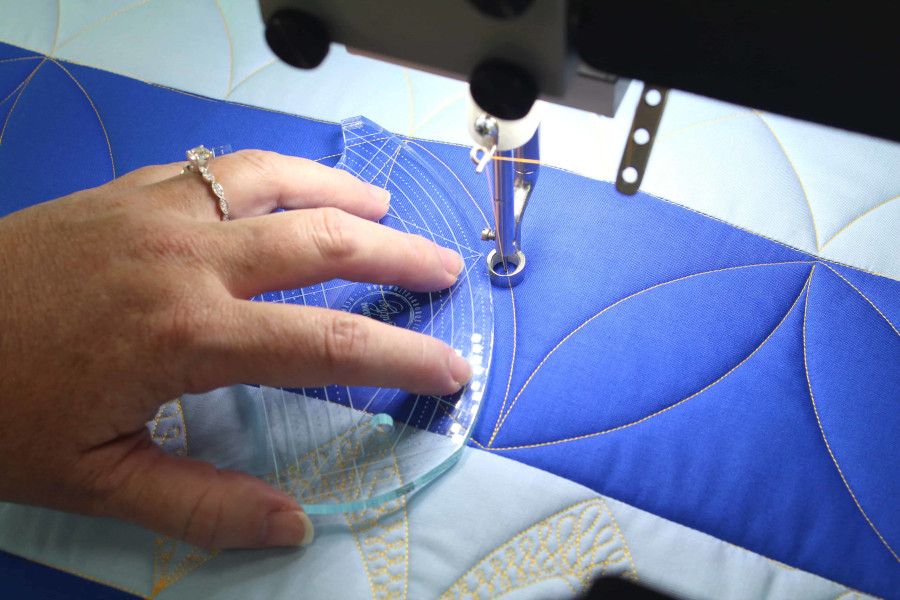
You must have a ruler made for machine quilting as they are tall enough that they won’t slip under the needle while it is running. Always use a ruler foot on your machine when working with rulers. Longarm machines also need a ruler base installed. Lower the feed dogs for free-motion stitching if you are using a domestic sewing machine.
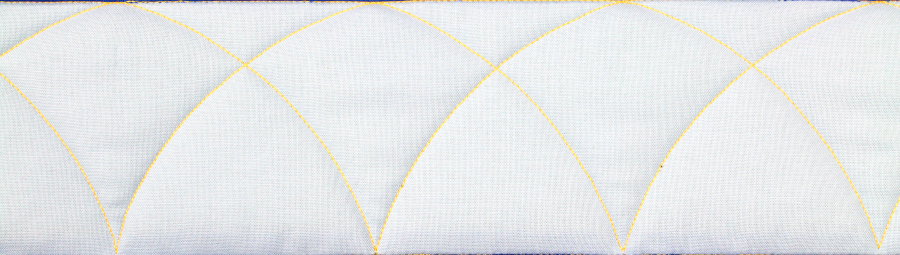
Simple Arch Border
Because the outside edge of the machine’s foot is located ¼” away from the needle, you’ll position the gentle arc of your ruler ¼” away from the marked line. Start with your needle in the down position at the start point and nest the ruler up against the foot. Then, place the opposite end of the arc ¼” away from the dashed mid-line and sew up to this mark as shown keeping your needle in the down position. Next, move the arc ruler so it is nested up against the foot in this new position and place the opposite end of the arc ruler ¼” away from your next target. Continue in this way to create a graceful arch along your border.
Overlapping Arch Border
This design packs a lot of punch with little effort. All you are doing is repeating the Simple Arch Border design as shown above but on the second pass, you’ll start with a half arch. The overlapping design looks complex but you’ll know the secret!
Overlapping Arch Border with Freemotion Filler
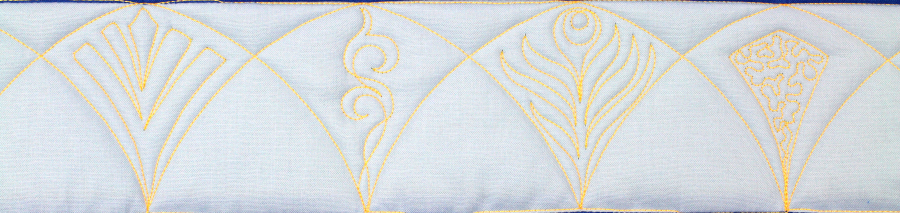
One of my favorite things to do is to fill in the spaces left from my ruler designs with free-motion fillers. In this case, I have shown four fun choices to add to the negative space created where the two passes of the arches overlap. Pick something fun and repeat it across the border for spectacular results!
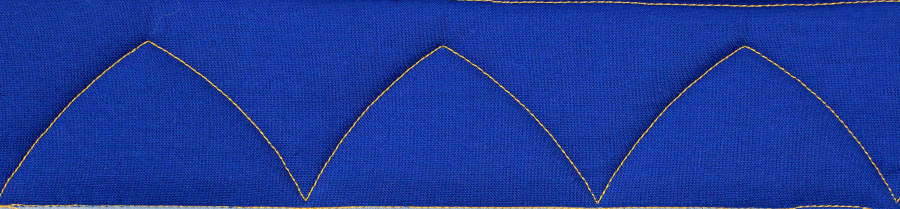
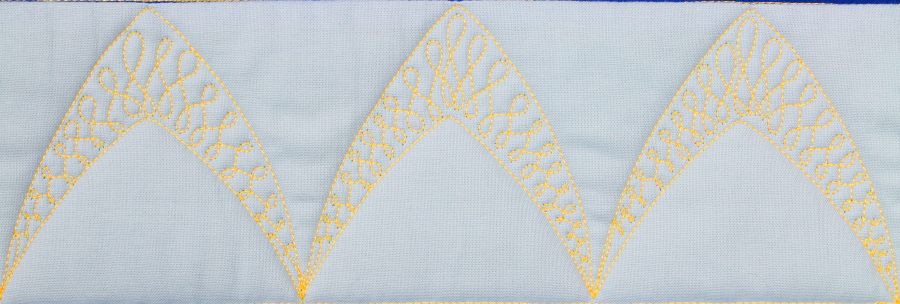
Echoed Arch Border

You will find that the arch shape looks very different if you quilt it to fill a narrow space with a compact arch versus filling a larger space with a spacious arch. The path, though, is the same as the Simple Arch Border. You’ll mark your divider lines but you’ll need one extra registration point about an inch down on the midline to use as a target (shown in grey). Stitch the first pass of arches just as before. Then, go back and stitch a second pass but reach up only to the target point marked on the dashed midline. Notice how very different the arch looks based on how tall or short the span is.
REMEMBER:
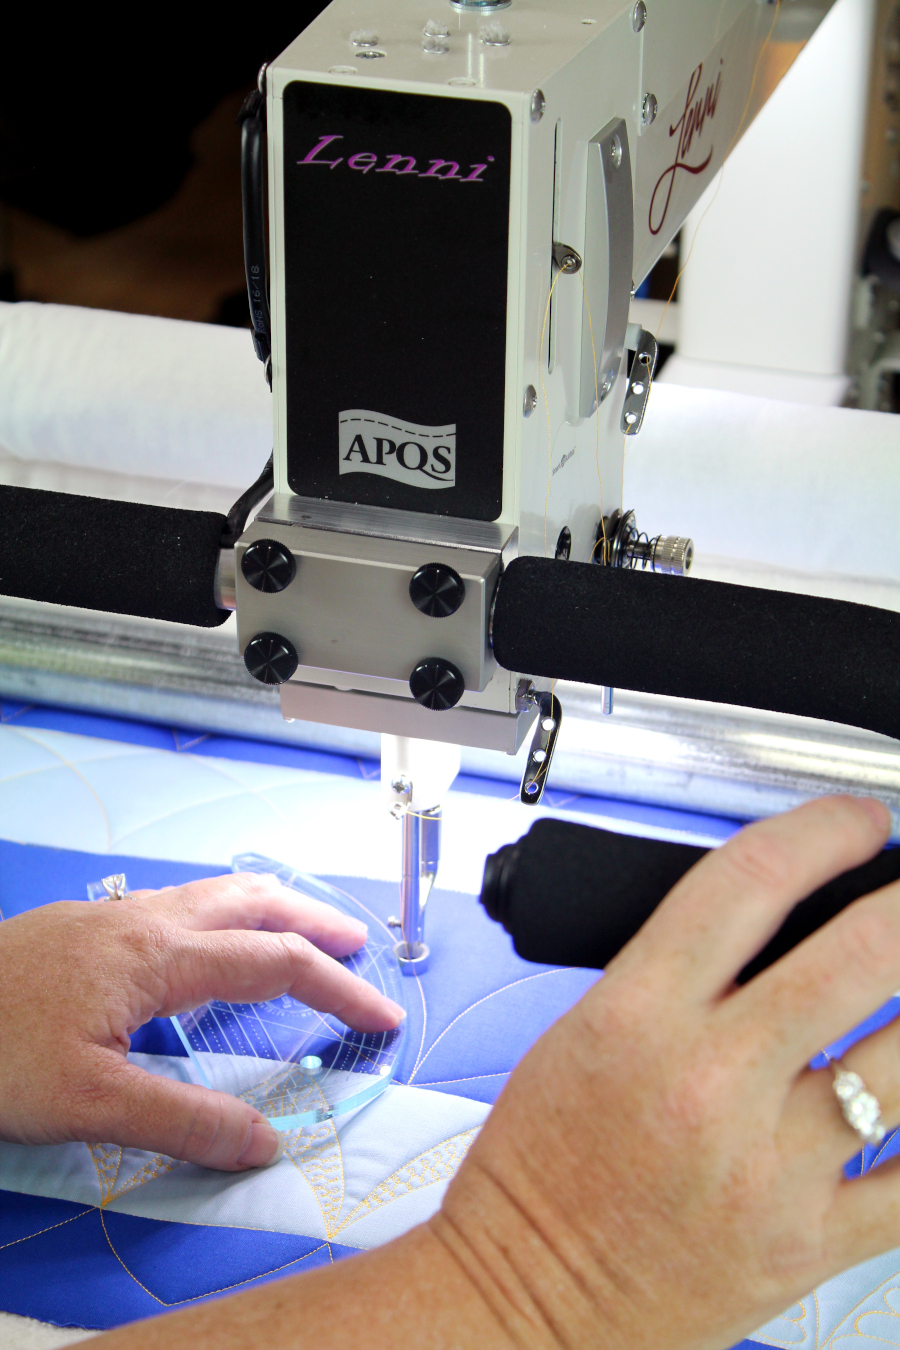
If you are using a longarm machine you’ll hold the ruler with your non-dominant hand using gentle downward pressure as you use your dominant hand to guide the machine. If you are using a sit down domestic machine you’ll move the ruler and the quilt sandwich in unison under your needle as you guide it against your machine’s special ruler foot.
Echoed Arch Border with Freemotion Filler
Once again we have some interesting negative space created by the second pass made with the rulers. This is a wonderful place to add in some filler designs like a fi gure eight or micro stipple. It will give you the ability to push a portion of the border design away from the eye and bring the other portion towards the eye. I encourage you to sculpt out your borders in this way and elevate your quilting!
I find arch designs incredibly versatile because they look so incredibly different based on how tall or short they are stitched and how narrow or wide they are stitched. Play with this design and see how you can enhance it with free-motion designs or even a beautiful feather spray.
Student packet
I’ve created a student packet that features a simple feathered arch border design. It also includes other arch designs for wider borders with curved crosshatching that you’ll love for use in over the top wide borders on your next traditional quilt.