Quilting the Quilt: Embracing the curves
Download this article in PDF form
Straight seams, straight borders, straight grain, straight stitches, straight binding….sometimes I think the stress of getting everything “straight”
in my quilting may lead me to a straight jacket!
That’s probably why I love curvy lines so much; they take the pressure off for precision and allow designs and quilting lines to flow organically from one to another. Don’t get me wrong—I greatly appreciate the skill and precision that goes into cross hatch quilting, perfect piecing and laser straight borders and quilt edges. But the older I get, and the taller my pile of UFO projects climbs, the more I subscribe to the old saying, “Done is better than perfect.”
Wavy or curved quilting lines introduce movement to a quilt and can help provide much-needed contrast when the patchwork is full of straight seams and right angles. That’s why Log Cabin quilts look fabulous with a Baptist Fan quilting design. The radiating rainbow curves direct your eyes to wander around the quilt and take in the whole view.
While rotary cutting rulers provide great drawing tools, they are not thick enough to use safely on longarm quilting machines. On most longarm machines, the foot hops up and down as you sew, similar to a darning foot on a domestic sewing machine. That hopping action means any guiding tools need to be designed so that the foot doesn’t catch under the ruler as it raises.
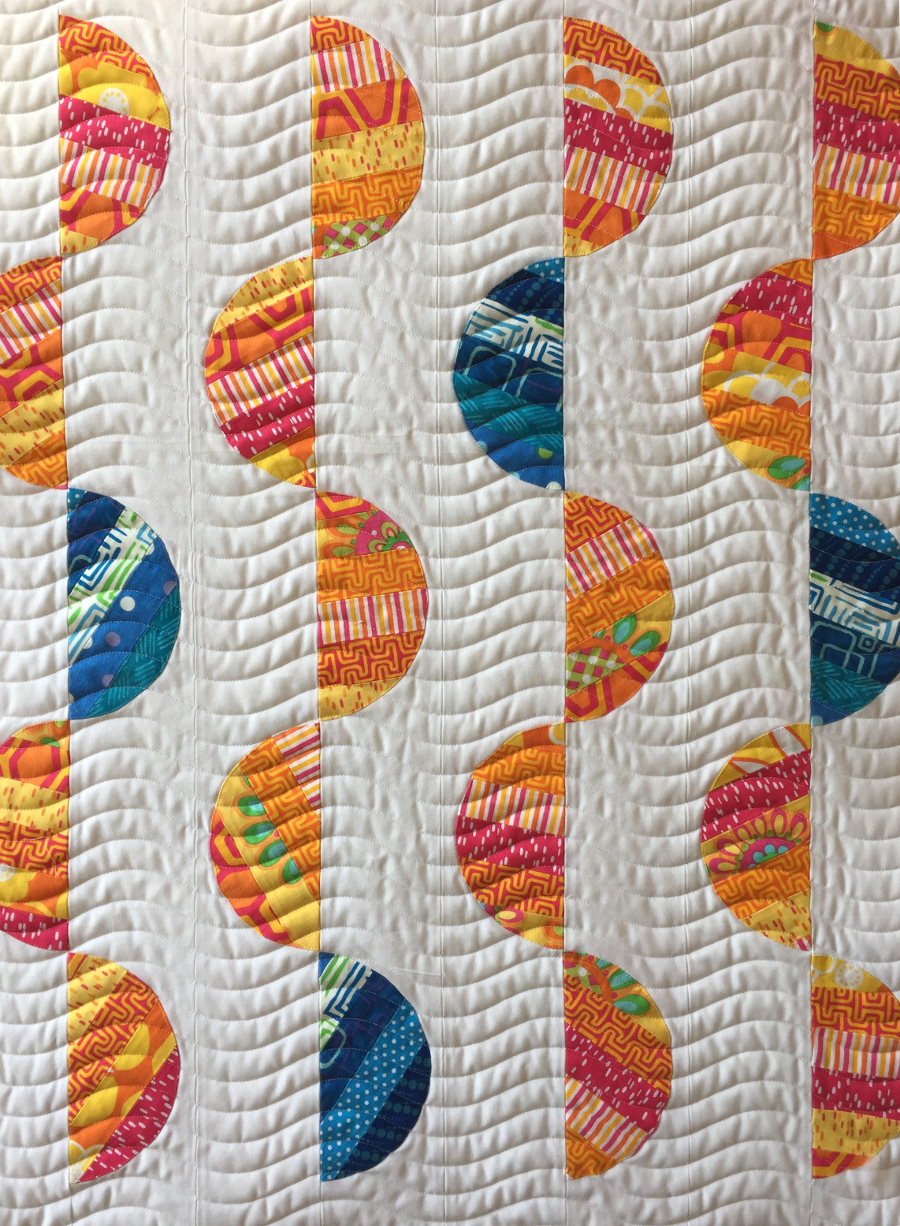
Wavy rulers for guiding longarm machines have been around for quite some time, and now come in all shapes and sizes. From shallow wiggles to giant swooping curves, the design options are limitless! I’ve included just a handful of ideas to get you started. Have fun and join the “wave” of quilters who have embraced their curves!
Simple stacked waves can be very attractive, providing just enough movement to entertain the eye without detracting from the piecing.
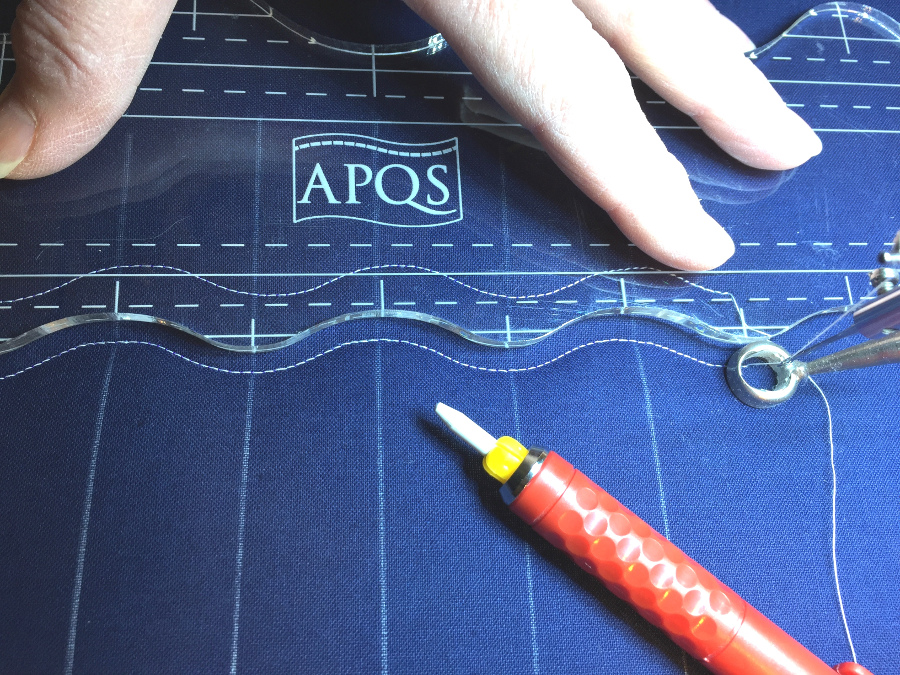
To keep your waves in line as you advance your ruler, first mark the vertical placement lines in the hills and valleys.
Increase the undulating effect by scooting each new line of waves an equal distance to one side.
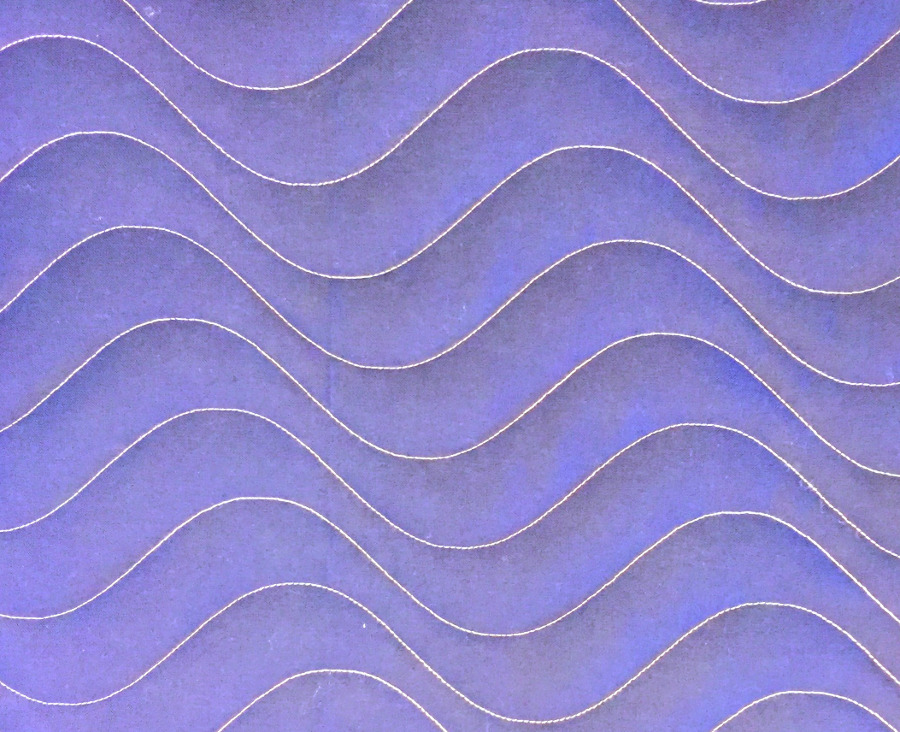
You could also push each wave line left or right until it just touches the previous row, achieving a basket weave effect.
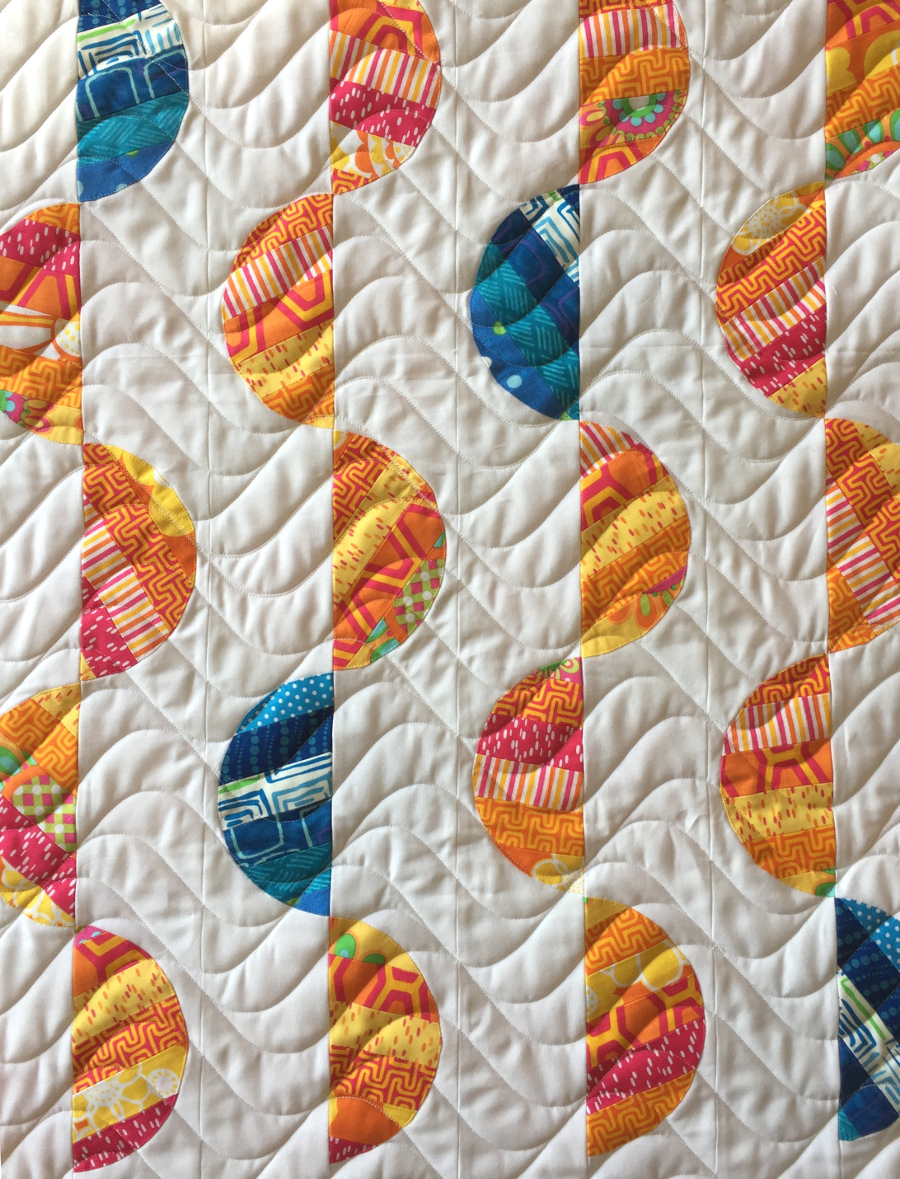
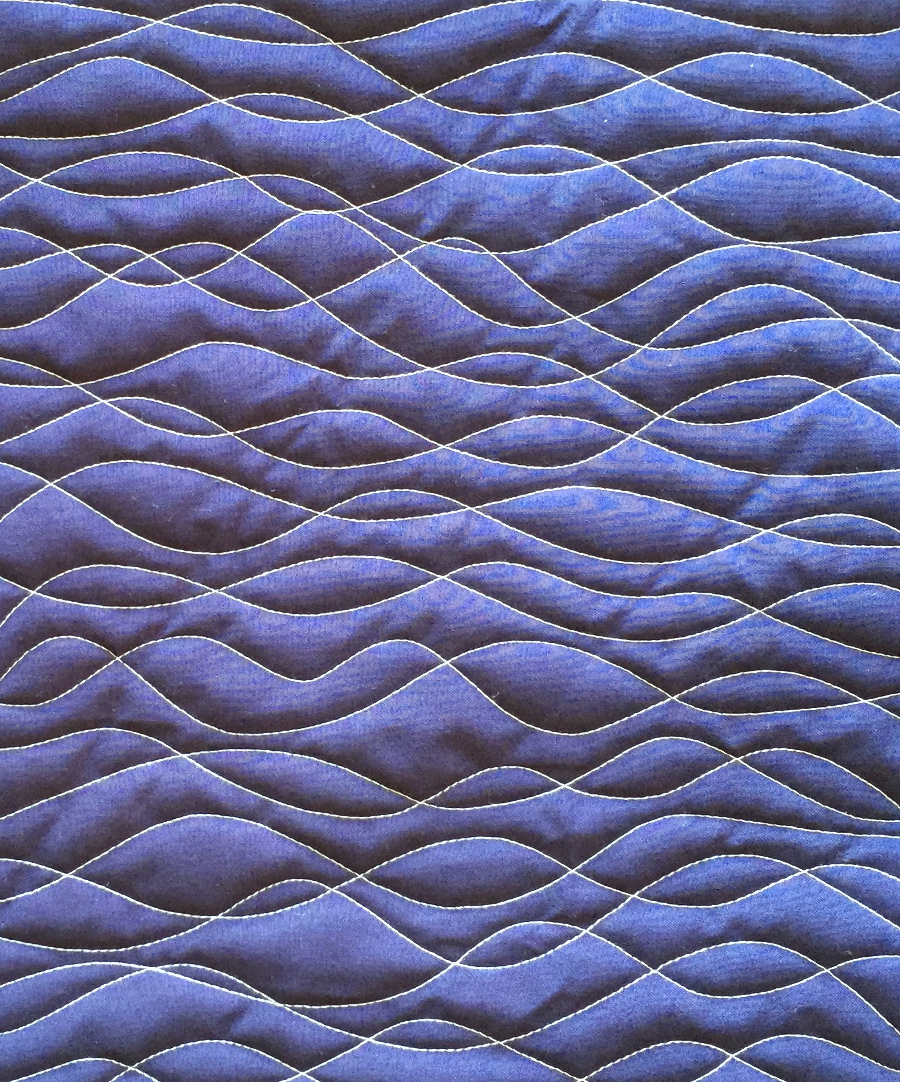
If you don’t relish marking lines, take a more carefree approach and simply wander back and forth across your quilt with undulating lines.
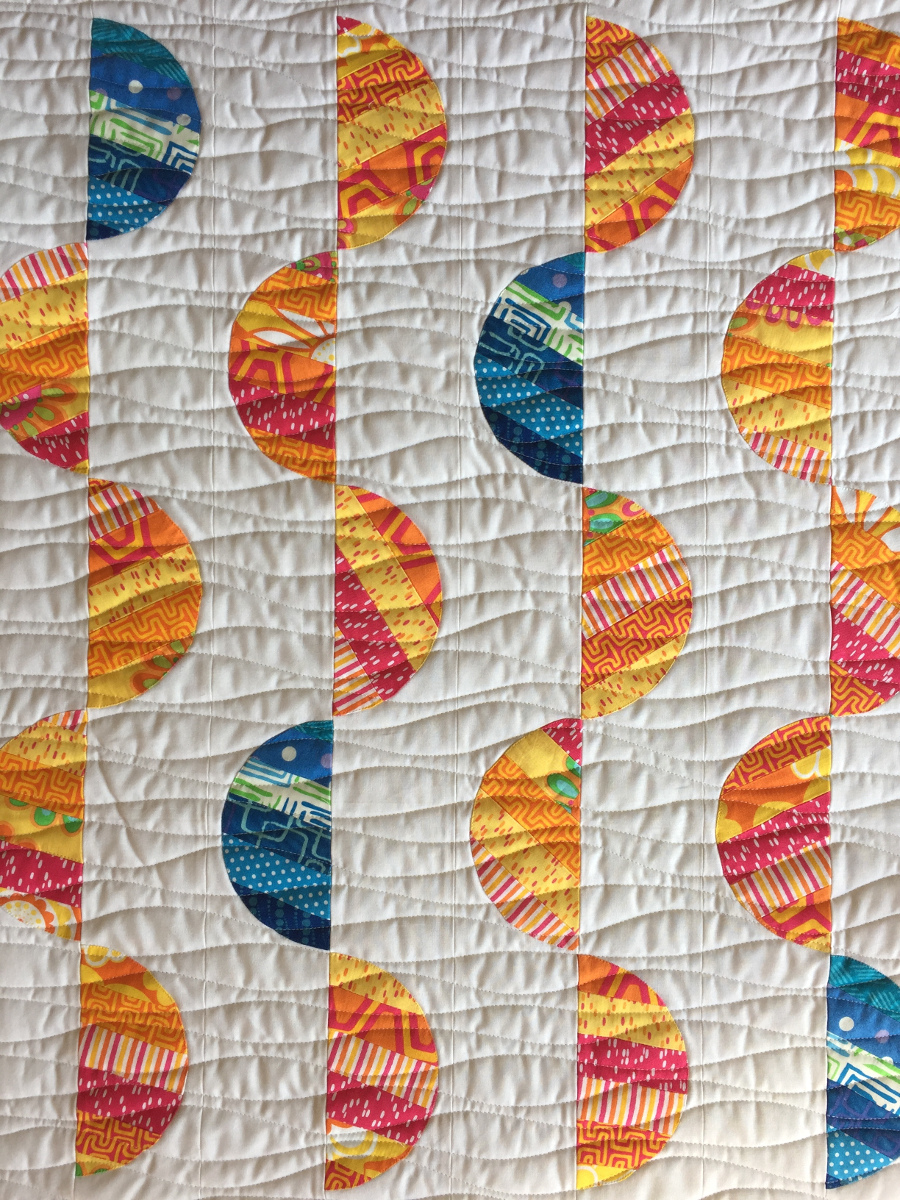
You can even throw caution to the wind and cross over to your heart’s content and lay down a bramble of tangled waves for a casual, relaxed look.
