Quick Quilt Top – Flying Geese: Help us pick a quilting design
This is the second article in our summer 2022 Quick Quilt Tops series. As part of this series, we’ll create a quilt together – from picking a pattern and a quilting design. You can find this first article here and read previous installments at this link.
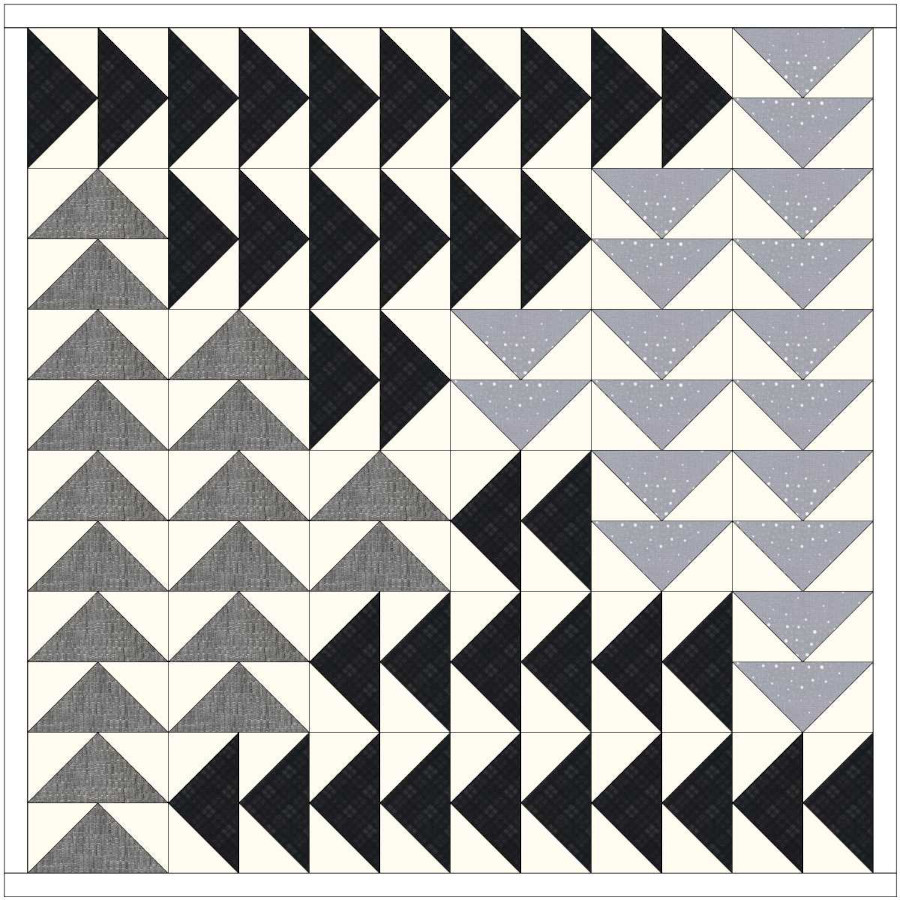
In Part 1 of this series, I showed you several different layouts utilizing the versatile Flying Geese block and you got to vote for your favorite. The winner is… #3, Flocking of Birds! At a close second was # 5, Pin Wheels and Stars and third place was #2, Stars and Eyes. If you want a reminder of all the layouts, click here.
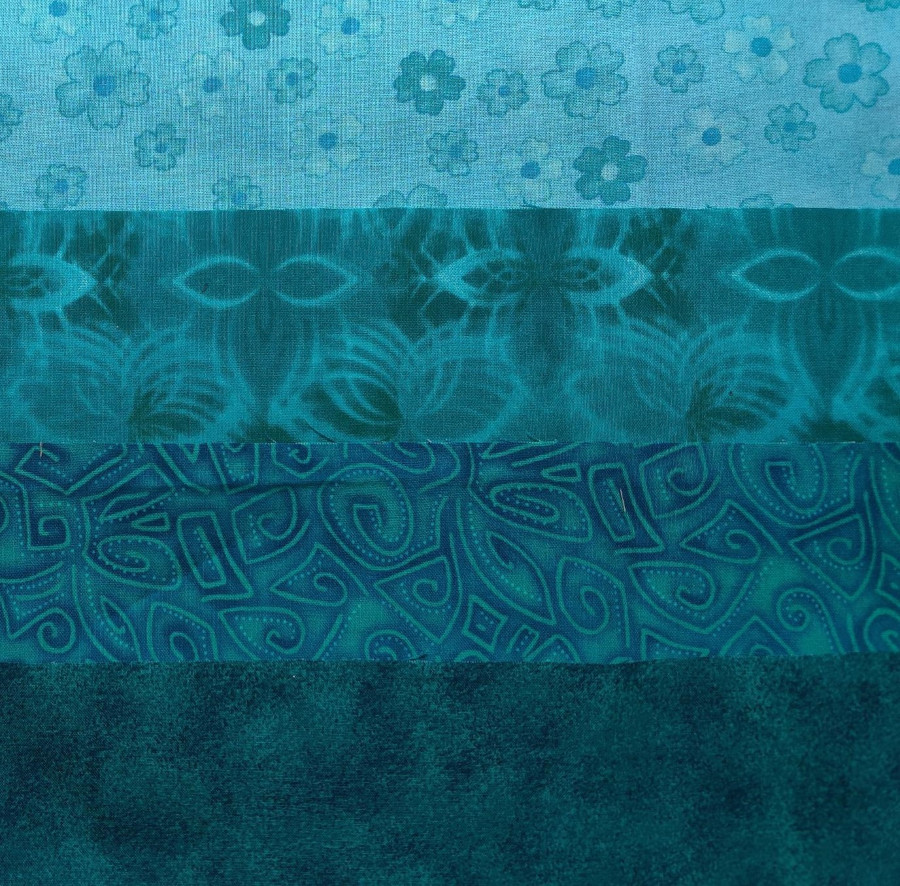
I decided on a monochromatic (one color) scheme in my favorite color of turquoise. When I select fabrics for a quilt, I like to lay them out from light to dark and make sure everyone is playing nicely together and I have a good range of value from light to dark.
These Flying Geese units are so fast and easy, I sewed up this small top in a day. After a quick press, I was ready for one of my favorite parts of the quilting process – selecting quilting designs! Here’s the quilt top:
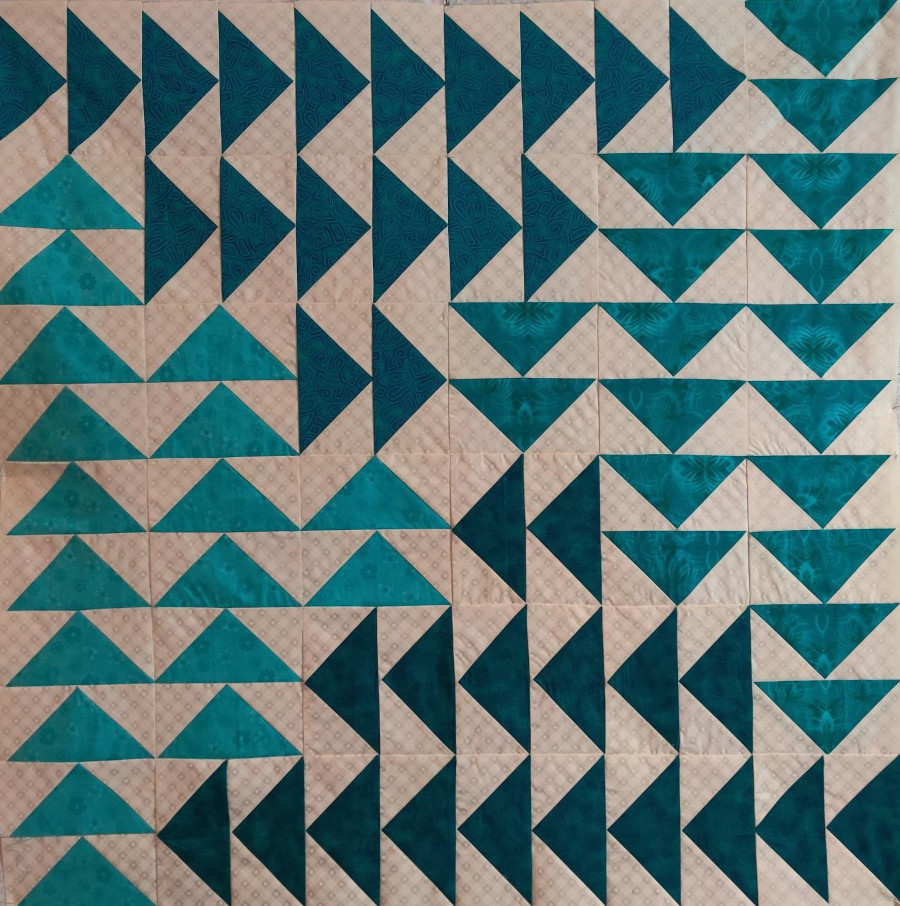
Now we need your help to pick a design layout for this quilt. Once the votes are counted, I’ll quilt the top with the winning quilting design, and then we’ll give away the finished quilt, along with some APQS bling, to a lucky person!
Scroll to the bottom of this post to vote for your favorite design layout.
Design 1
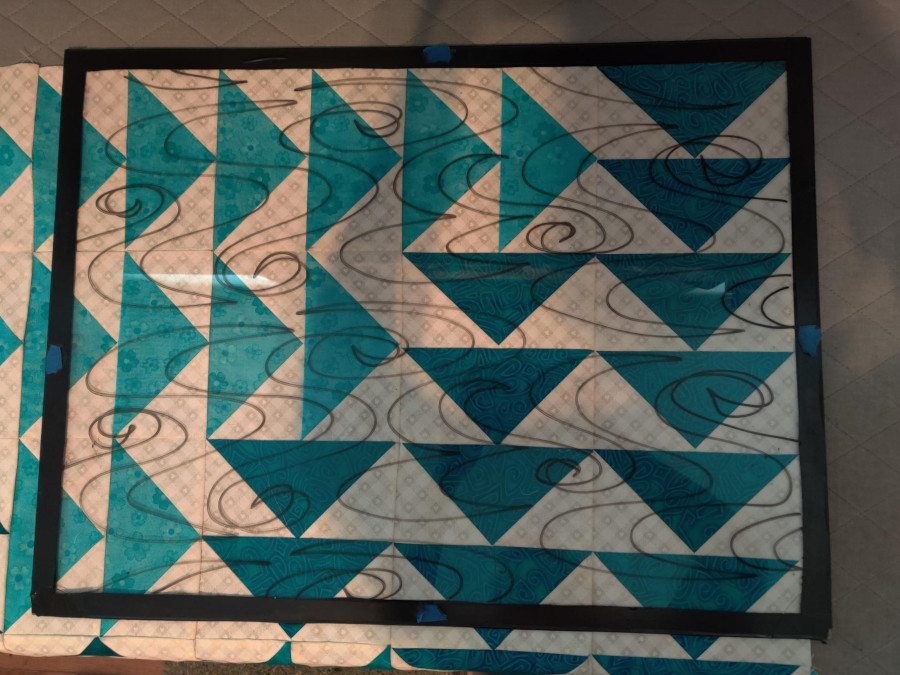
My first design is an all over pattern that will provide background texture. If the piecing has a lot of straight lines, I like to soften them up with some curves. This pattern is called Ripples, designed by Hermione Agee. I like that it looks like wind and gives a lot of movement.
I use an 18”x24” piece of plexiglass to audition designs, available at the hardware store. This fits the generous 26” throat space of my Millie so I can put it down on a loaded quilt; if you have a smaller throat space, use a narrower piece of plexiglass. Note that I’ve covered the edges with electrician’s tape – this creates a barrier that stops my dry erase marker from going off the plexiglass and onto the quilt. I’ve also put painter’s tape on the writing side so I don’t accidentally put it upside down and get dry erase marker on the quilt. The plexiglass is a great way to try out designs on the actual quilt itself, develop a quilting path, and to practice the design before starting to quilt.
Design 2
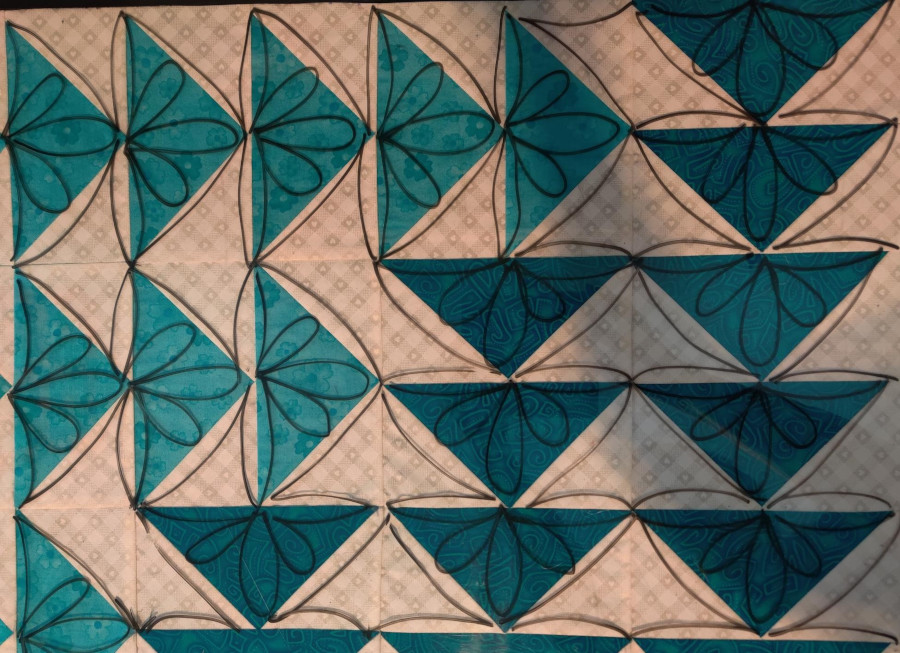
My next design is a light custom. Continuous curves are a quick alternative to stitch in the ditch, but still emphasize the piecing design. Here, I wanted to draw more attention to the design elements formed by the Flying Geese and filled them with feathers.
Design 3
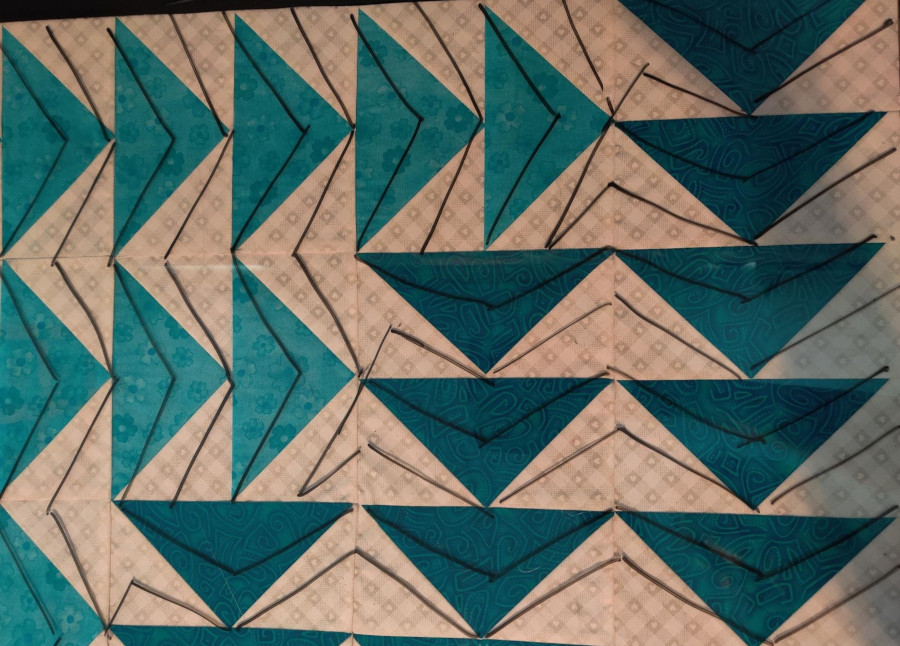
Lastly, I wanted to give a more modern vibe with lots of straight-line stitching. I like how the straight lines in the background emphasize the flying geese formed by the background but moving in the opposite direction.
Vote for your favorite quilting design
Sorry – voting is now closed. In the next and final blog post in this series, we’ll quilt the project with the quilting design that gets the most votes, and then give the quilt away to one lucky winner – along with some cool APQS goodies!


