Free quilt pattern: What a Trip!
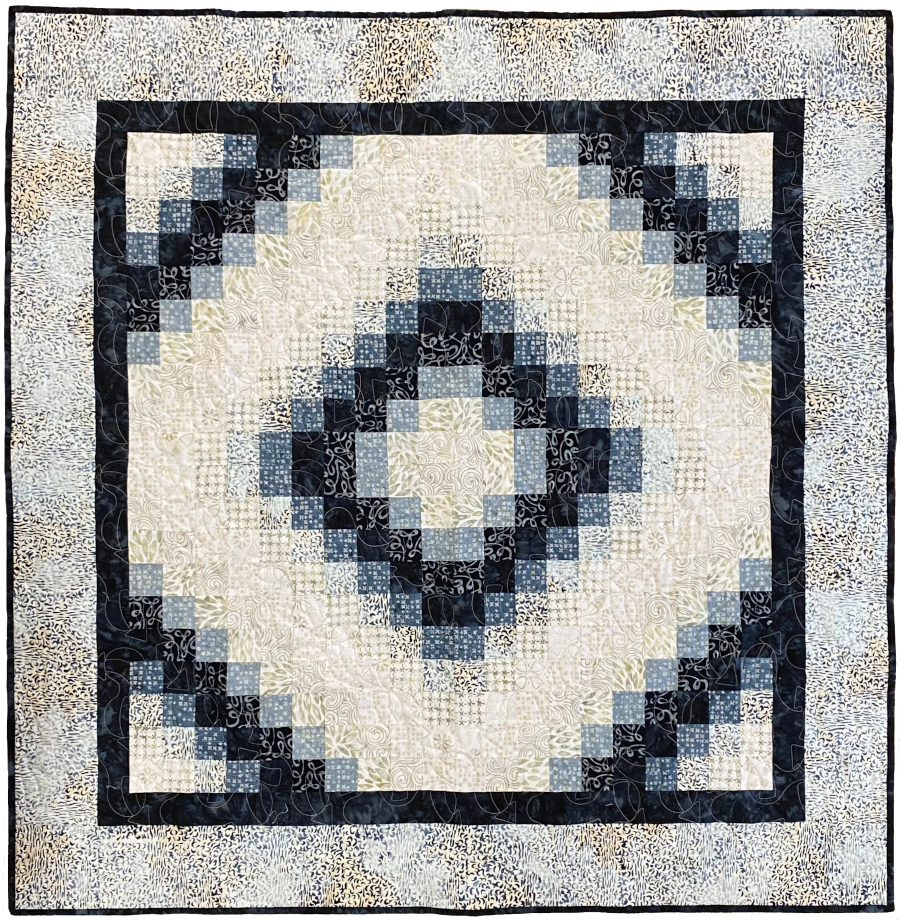
This month’s free pattern, “What a Trip,” takes full advantage of strip sets. The technique of sewing a strip set into a tube and cutting up that tube into segments is a fast and easy way to make a Trip Around the World-style quilt.

As I look at a pattern such as “What a Trip,” I immediately think about how am I going to keep all those seams straight. Your success will come down to three things—how you cut, how you sew, and how you press.
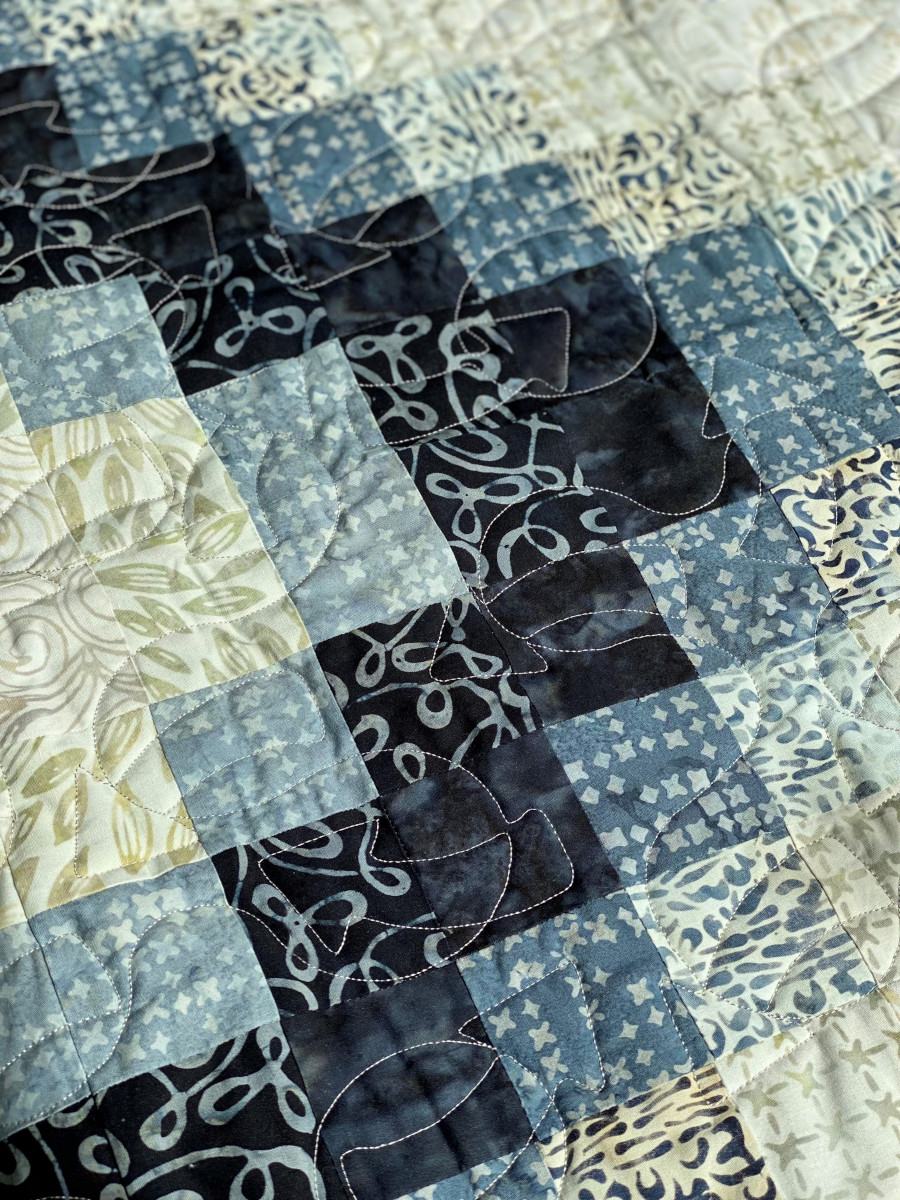
The featured quilt was quilted by Stephanie Unruh and Liz Meimann at A Quilted Memory. They chose the “Just Arrows” design by Anne Bright Designs.
“We chose this because the digital edge-to-edge design has arrows heading every is a fun take on,” they said.

How you cut
The 2½-inch-wide strips in this quilt make it perfect for using a Jelly Roll or package of precut strips. Most Jelly Rolls come with 40 to 45 strips included, which will make a scrappy look for this quilt. If you want a more planned version (like ours made from assorted Anthology batiks), then cut your own strips from ten third-yard fabric cuts.
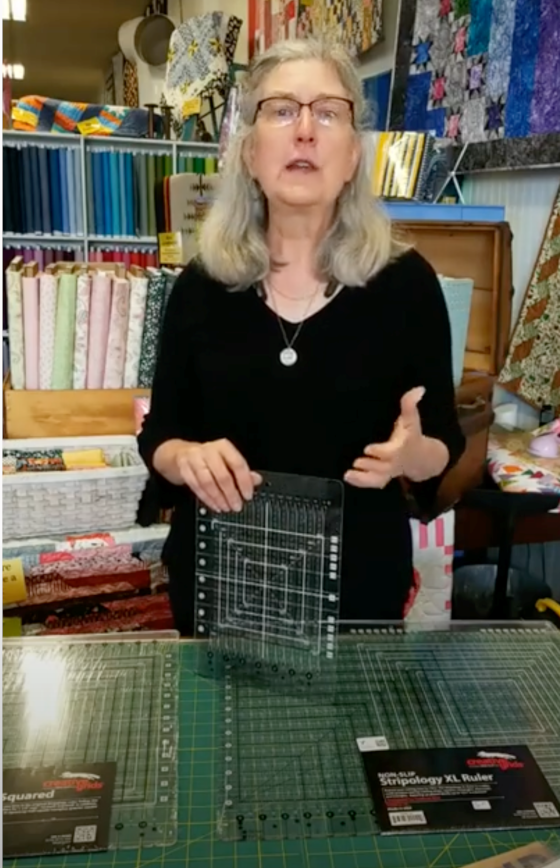
I highly recommend using a Creative Grids Stripology ruler when cutting lots of strips of the same size. It’s a highly accurate cutting system that makes the process quite simple. Not familiar with the Stripology rulers? Check out this demo.

No matter how you are cutting the strips, remember the less you move your fabric while cutting, the more accurate you are. And use the same ruler throughout the cutting process. Changing rulers can cause you to have slight differences that result in big problems!
How you sew
Accurate quarter-inch seams are a MUST! If your cutting is off by a fraction and your sewing is off by a fraction, the bigger your quilt the bigger your problems. Are you using a quarter-inch foot on your sewing machine? If not, check with your local sewing machine business to get a foot that fits your machine. Or figure out how to make sure your machine is sewing an accurate seam. There are products on the market to help. Also, check out this FREE online class for getting accurate seam allowances.
How you press
Start with the right tools. You’ll need a good pressing surface. The more recent addition of wool pressing mats to the quilting world has added a good tool for retaining heat.
Also, find a good iron with steam. (Check out this video to learn more about Oliso irons. Listen carefully for the tip about what water you should use in your iron!)
Here’s another tip: When sewing pieces of fabric together, I like to set my seams before opening them up and pressing the seams in the direction I need them to go. Simply set your iron atop the seam and give it a burst of steam. Then, using the tip of your iron, press the top fabric open.


