Lacy longarm scarf
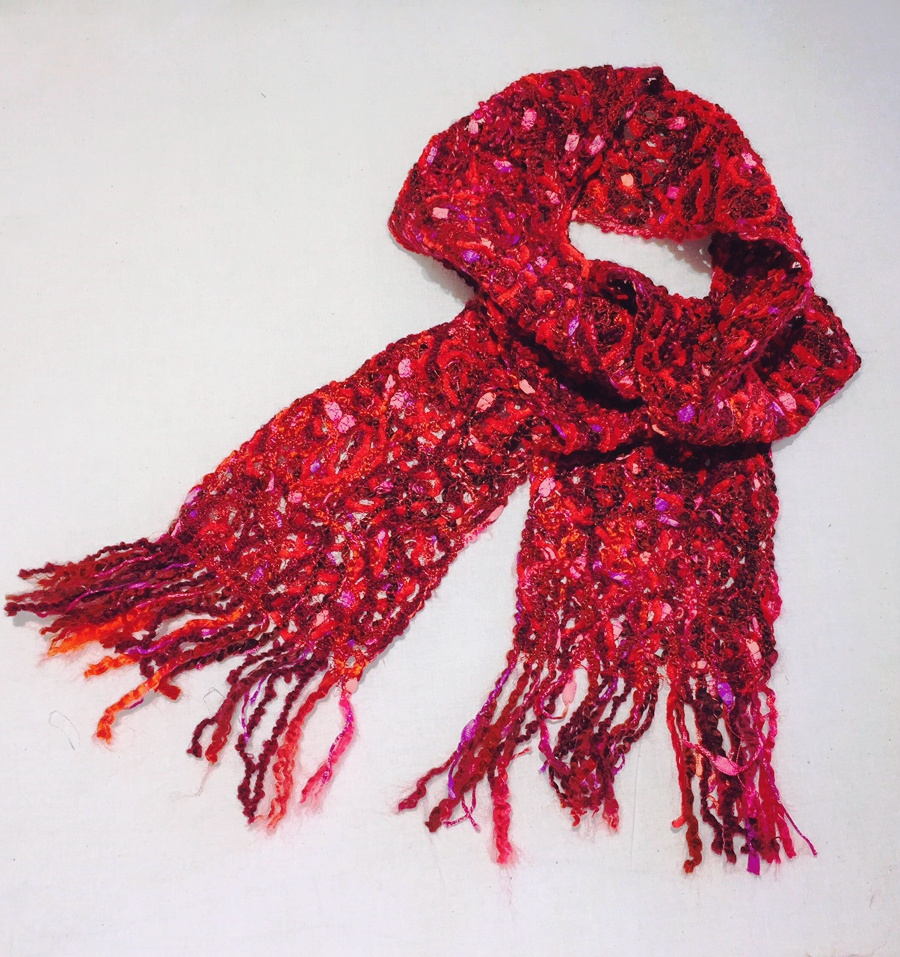
It’s just about 5:00. You check your calendar for tomorrow’s events – looks like you’re meeting your friends for a holiday lunch at the local tea room. You’re excited to get away if only for a couple of hours to share some fun and laughter with your friends. But wait! What’s that scribbled note underneath the restaurant’s address? “Bring one home-made gift for exchange!” Panic!
If you’re a typical quilter you may have a UFO or two stashed away that you could quilt up for a gift exchange. But can you do it in just a few hours? Will it be “too much” compared to what the other gals are giving? Can you even find it in your sewing room? Relax, here’s a fast and fun gift to make for the holidays that can be very elegant, looks expensive and can even be personalized by choosing colors to match your friend’s preferences. To make this lacy scarf you’ll need the following supplies:
- 12″ x 60″ heavy-duty clear water soluble stabilizer
- 12″ x 60″ lightweight clear water soluble stabilizer
- Assorted yarns, ribbons and thread
- Polyester or cotton top and bobbin thread
Directions
- Pin the heavy-duty stabilizer to your quilting machine as if it were backing fabric, attaching the long side to your canvases.
- Place lengths of yarn horizontally across the entire piece, allowing the end tails to extend to the edge of the stabilizer so that you can create fringe later. Put them closer together for a tighter,more fabric-like appearance or farther apart for a lacy effect.The width of your scarf will be determined by the number of pieces you use and the distance apart you place them.
- To secure the yarn pieces, baste them in place close to each end of the stabilizer.
- Place the lightweight stabilizer over the top of the yarns and ribbons. Baste in place along the top and bottom edges, staying about 2 inches away from the yarn.
- Now stitch a tight grid over the yarns. Begin with vertical stitching, pivoting just past the first and last yarn pieces similar to a zigzag motion. Then repeat in the other direction. You will need close stitching as these grids will keep your scarf together.
- When you’re finished, fill your washing machine with water and submerse the scarf. Agitate gently to dissolve the stabilizer. Remove the scarf, lay it flat to dry. Press if necessary, and trim the fringe.
- Wrap up the present, and bask in the compliments!